

As it’s name, it will fix Leverage Browser Caching issues in your WordPress website. Also it improves page speed score in website testing tools like: Pingdom, GTmetrix, PageSpeed, Google PageSpeed Insights and YSlow.
About Leverage Browser Caching
Leverage Browser Caching means storing static files of a website in visitor browser. And then retrieving them from browser quickly instead again from server. Actually it uses to speed up each page of a website.
How Leverage Browser Caching Works?
When you visit a web page, your browser downloads all content of the particular page as well as common static files like css and js files. And when you visit other page of same website, your browser downloads them again. But if you have enabled Leverage Browser Caching, then all statics files will serve from your browser instead server. Now when you will visit any page of the particular website, it will only download unique contains of the page and static files will serve from your browser. in this way, it speed up each page of a website.
Benefits of Leverage Browser Caching
Primary benefit is speeding up website because static files will serve from your browser. it saves internet data of website visitor. it also saves bandwidth of website server and decrease load of server. Simply it decreases HTTP requests.
Download & install the zip archive
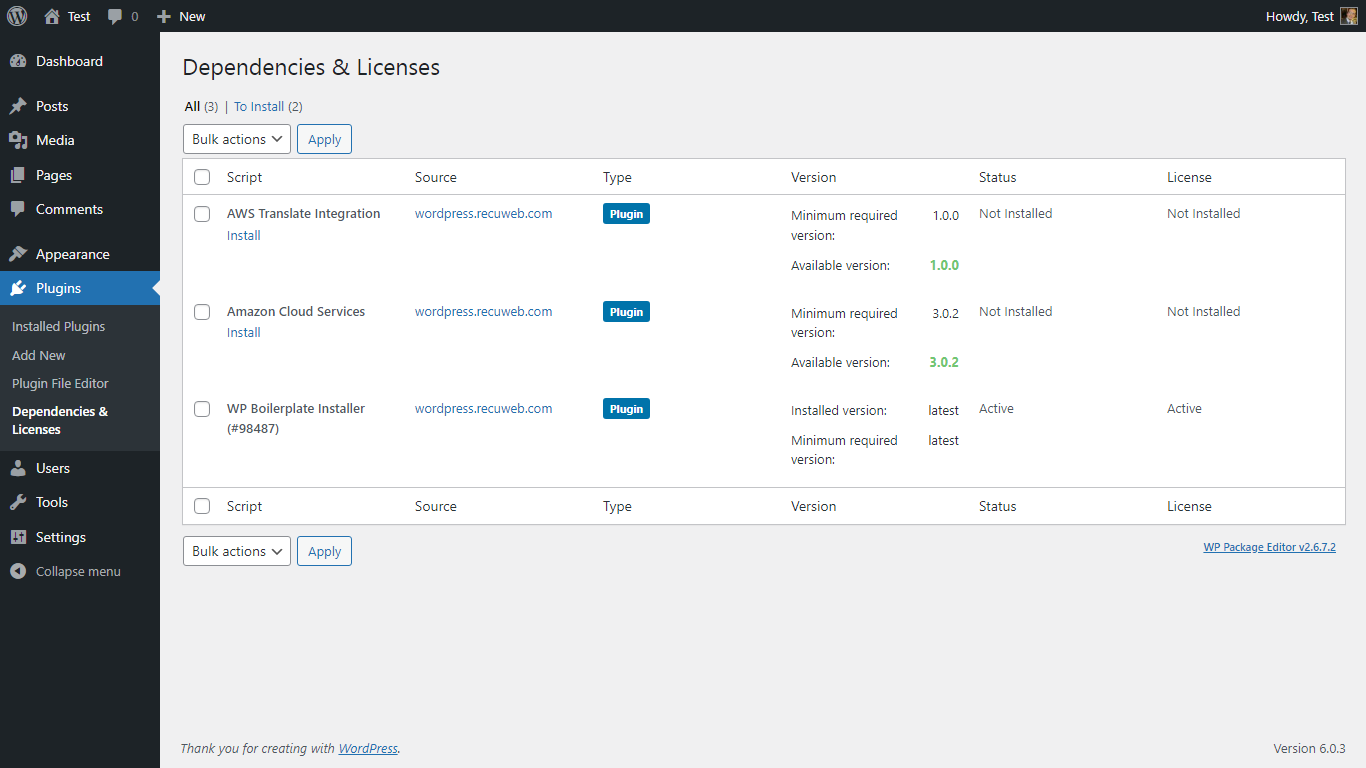
The plugin package installer can be downloaded from the WP2E project tab called “code”.
1 – Select the version to download if this option is available otherwise the “latest” version of the main plugin will be used.
2 – After downloading the zip archive install the plugin package installer in you local environment and activate the script from the plugin list.
3 – Under the section “Plugins” of the admin dashboard you should see a new “Dependencies & Licenses” link. Follow the instructions from this panel to finalize the installation of the missing dependencies.
-
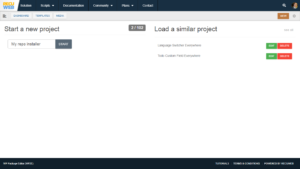
- Give a name to your project

-

- Download the Installer Package

-

- Install & activate the plugin locally

-

- Install the suggested dependencies
Tips: Use the WP2E panel to add/suggest new dependencies to the local installation. Press F5 in the list of dependencies if the changes are not displayed right away.