

The WordPress Piwik PRO Tag Manager integration plugin allows you to include both the synchronous and asynchronous tags. When triggering the tags in a synchronous way, it adds the snippets of Piwik PRO Tag Manager’s code to the HTML head section. If you trigger them asynchronously, it places them directly after the opening body HTML tag.
All you have to do is provide your Piwik PRO Tag Manager server’s URL and the ID of the website.
To learn more about which type of tags you should use (e.g. asynchronous or synchronous tags), read the Tags section in the Piwik PRO Tag Manager’s documentation.
The plugin gives you also the possibility to configure the order in which the snippets will be included. To do so, you only need to insert wp_enqueue_script handles as a dependencies via plugin’s settings page. However, this will work only with wp_head and/or wp_body method.
A useful addition is output buffering. Owing to this function, you can use the plugin with any WordPress theme. Use it if you are not sure whether the preferred methods wp_head and/or wp_body function has been added to your theme.
You can enable the Piwik PRO Tag Manager scripts caching and control the cache refresh interval – useful when applying the Cache-Busting strategy.
You can also enable or disable the version parameter in the query string for the scripts’ URLs.
What Makes Piwik PRO Tag Manager Stand Out
Piwik PRO Tag Manager is a secure, self-hosted tag management system. It comes with built-in integrations with a Piwik PRO Analytics and a range of other marketing and web analytics tag templates. It is a go to solution for businesses garnering and managing large amounts of data, as well as for those committed to data privacy.
Key characteristics
- Built-in tag templates and integrations with Piwik PRO for you to test and fire numerous tags, and to enhance your analytics reports.
- API Integration with other tools, such as: A/B tests platforms (e.g. Optimizely and VWO), web analytics tools (Google Analytics, CrazyEgg, ClickTale, etc.), UX and CRO applications (intent-triggered pop-ups or feedback widgets like Qualaroo) as well tracking and remarketing pixels (Google AdWords, Facebook).
- Deployment of A/B Testing Tags with both pre-set and custom tags without Flash Of Original Content.
- Privacy-Compliance with even the most rigorous privacy laws: Opt-Out and Do Not Track features, Blanket Privacy for All Tags to manage sensitive marketing and web analytics tags, Data Control & Ownership, No Piggybacking to avoid 3rd party tags.
- White-Labeling to match your other tools and for reselling purposes.
- Test & Debug Mode to let you verify every tag in safe environment before deployment.
- Triggers & Conditions Library to fire tags any place on a page or on any visitor action you desire.
- Built-in tag Templates to add both custom synchronous & asynchronous HTML tags along with custom triggers and conditions.
- A wide range of marketing & web analytics tag templates to give you full control over all the tags, and to save time and resources.
- Event and content tracking, custom dimensions, virtual pageviews, cross-domain tracking.
- Variables ensuring flexibility and dynamic customization:
- Built-In Variables, including: URL, Cookie, Document, Data Layer, Constant, Random Number; Custom Javascript Variables.
- Campaign Parameters & Mobile-based Triggers applied based only on specific campaign parameters.
- Endless Customization – using regular expressions and logical sequences to achieve expected results.
Download & install the zip archive
The plugin package installer can be downloaded from the WP2E project tab called “code”.
1 – Select the version to download if this option is available otherwise the “latest” version of the main plugin will be used.
2 – After downloading the zip archive install the plugin package installer in you local environment and activate the script from the plugin list.
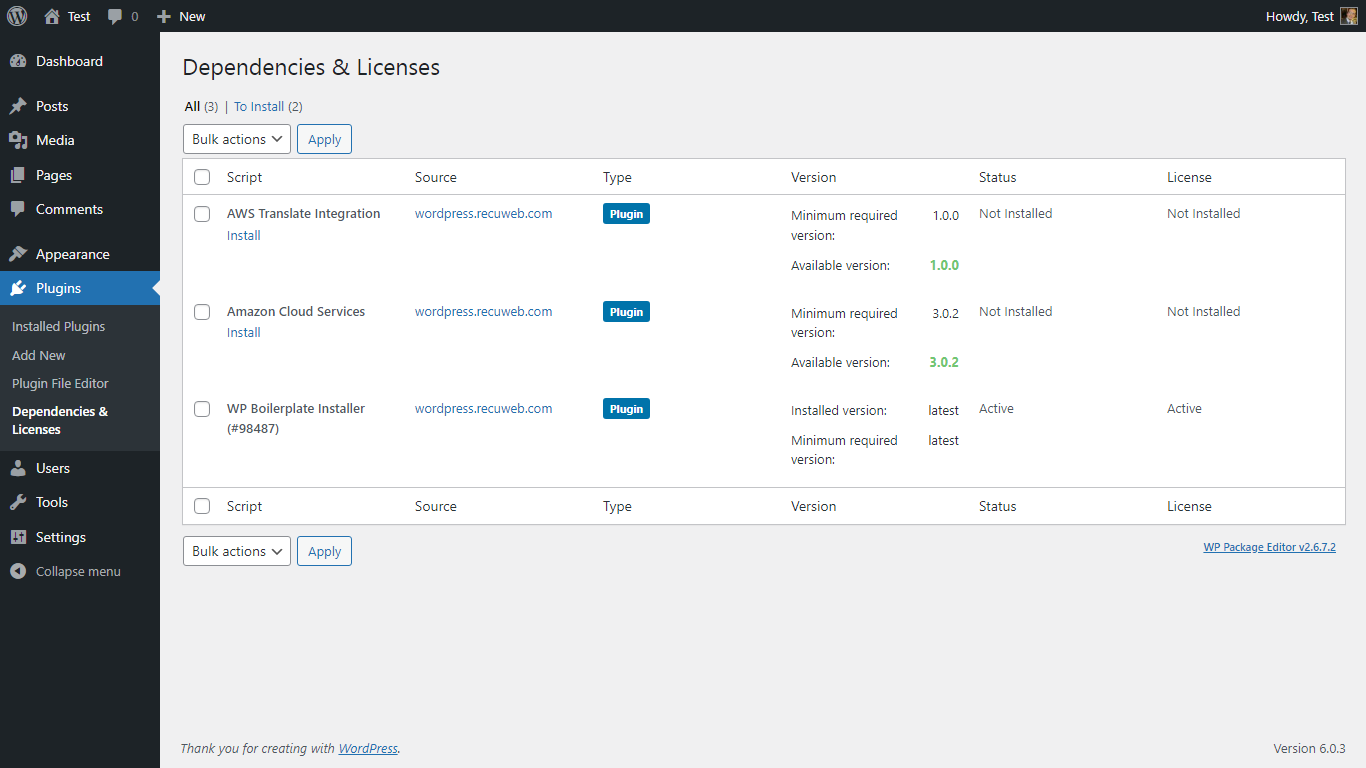
3 – Under the section “Plugins” of the admin dashboard you should see a new “Dependencies & Licenses” link. Follow the instructions from this panel to finalize the installation of the missing dependencies.
-
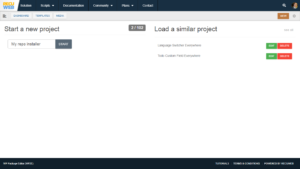
- Give a name to your project

-

- Download the Installer Package

-

- Install & activate the plugin locally

-

- Install the suggested dependencies
Tips: Use the WP2E panel to add/suggest new dependencies to the local installation. Press F5 in the list of dependencies if the changes are not displayed right away.