Creates polaroids of images on the fly for thumbnails in posts. Support for lightbox included. Built on modified Polaroid-o-nizer v0.7.2 sources.
I wanted to mimic the Polaroid look that you can achieve with Google Picasa to add thumbnails to my posts. I found a plugin titled WP-Polaroidonizer that did what I wanted to some extent but it didn’t have the right feel to it.
The other problem I have with Polaroid-o-nizer and WP-Polaroidonizer is the lack of security. When I mention lack of security there is by default no way to restrict external sites and users from generating Polaroid pictures using your installation of Polaroid-o-nizer.
The goal of this plugin was to use rel= style html img tags to transform a simple URL into a Lightbox URL in which there is a thumbnail image in your post which is linked to an image that can be loaded using Lightbox or any of the Lightbox clones/alternatives.
Requirements
- PHP GD Module
- Lightbox – Not really a requirement but a recommendation if you want to have a nice ajax/javascript image overlay on your page.
Upgrade
- Deactivate the plugin through the ‘Plugins’ menu in WordPress
- Delete the previous
polaroid-on-the-flyfolder from the/wp-content/plugins/directory - Upload the new
polaroid-on-the-flyfolder to the/wp-content/plugins/directory - Activate the plugin through the ‘Plugins’ menu in WordPress
Usage
-
Create an image link in your post in the following format:
-
Be sure to include
rel="polaroid"as this activates the plugin. - If
alt="Picture[album]"is included the portion listed here as Picture will be displayed as the image title in Lightbox and the portion listed as[album]will group multiple pictures into an album called album. The alt tag is not required and if used the[album]portion is not required. Read the Lightbox usage for more details on Titles and albums. - Be sure to place each html img tag on a separate line.
- This plugin supports the following image formats: jpg, png, gif
NOTE:
Do not use the visual editor for doing the above use the code editor.
To Do
- Add features for x and y offset
- Add features for rotation angle
- Add additional error reporting for the offset and angle
- Add functionality to options page to generate a URL for placement elsewhere on the site.
- Add functionality to cache the polaroid images.
Download & install the zip archive
The plugin package installer can be downloaded from the WP2E project tab called “code”.
1 – Select the version to download if this option is available otherwise the “latest” version of the main plugin will be used.
2 – After downloading the zip archive install the plugin package installer in you local environment and activate the script from the plugin list.
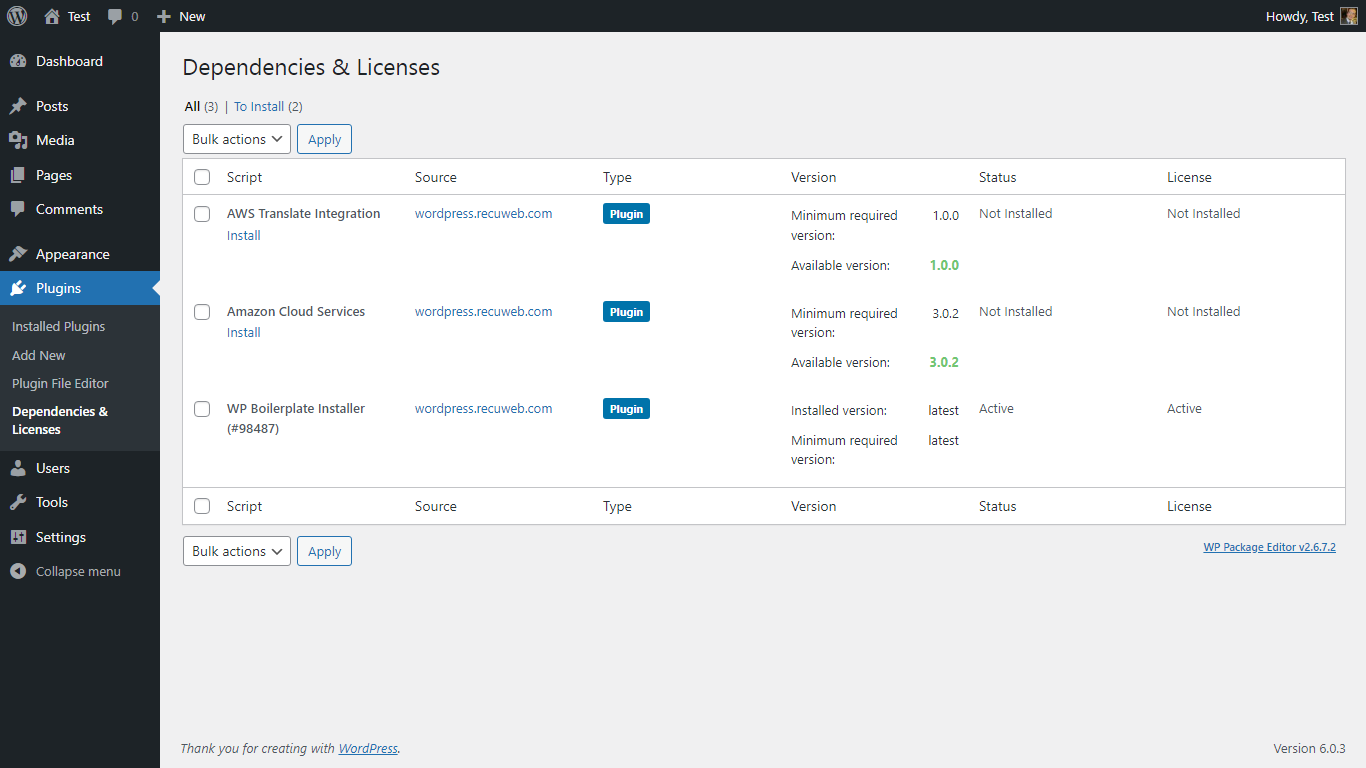
3 – Under the section “Plugins” of the admin dashboard you should see a new “Dependencies & Licenses” link. Follow the instructions from this panel to finalize the installation of the missing dependencies.
-
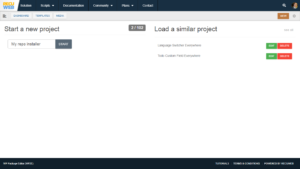
- Give a name to your project

-

- Download the Installer Package

-

- Install & activate the plugin locally

-

- Install the suggested dependencies
Tips: Use the WP2E panel to add/suggest new dependencies to the local installation. Press F5 in the list of dependencies if the changes are not displayed right away.