

Complete WordPress Varnish Cache 3.x/4.x/5.x and Nginx Proxy Cache integration.
This plugin handles all integration with Varnish Cache and Nginx Proxy Cache. It was designed for high traffic websites.
Main features
- admin interface, see screenshots
- console for manual purges, supports regular expressions so you can purge an entire folder or just a single file
- supports every type of Varnish Cache implementation, see screenshots for examples
- unlimited number of Varnish Cache servers
- use of custom headers when communicating with Varnish Cache does not interfere with other caching plugins, cloudflare, etc
- Varnish Cache configuration generator
- purge key method so you don’t need to setup ACLs
- debugging
- actively maintained
You can control the following from the Varnish Caching admin panel :
- Enable/Disable caching
- Homepage cache TTL
- Cache TTL (for every other page)
- IPs/Hosts to clear cache to support every type of Varnish Cache implementation
- Override default TTL in posts/pages
- Purge key based PURGE
- Logged in cookie
- Debugging option
- console for precise manual purges
This plugin also auto purges Varnish Cache / Nginx Proxy Cache when your site is modified.
Varnish Caching sends a PURGE request to Varnish Cache / Nginx Proxy Cache when a page or post is modified. This occurs when editing, publishing, commenting or deleting an item, and when changing themes.
Not all pages are purged every time, depending on your Varnish / Nginx Proxy Cache configuration. When a post, page, or custom post type is edited, or a new comment is added, only the following pages will purge:
- The front page
- The post/page edited
- Any categories or tags associated with the page
Varnish Cache / Nginx Proxy Cache is a web application accelerator also known as a caching HTTP reverse proxy. You install it in front of any server that speaks HTTP and configure it to cache the contents. This plugin does not install Varnish/Nginx for you, nor does it configure Varnish/Nginx for WordPress. It’s expected you already did that on your own using the provided config files.
Inspired from the following :
- https://wordpress.org/plugins/varnish-http-purge/
- https://github.com/dreamhost/varnish-vcl-collection/
Download & install the zip archive
The plugin package installer can be downloaded from the WP2E project tab called “code”.
1 – Select the version to download if this option is available otherwise the “latest” version of the main plugin will be used.
2 – After downloading the zip archive install the plugin package installer in you local environment and activate the script from the plugin list.
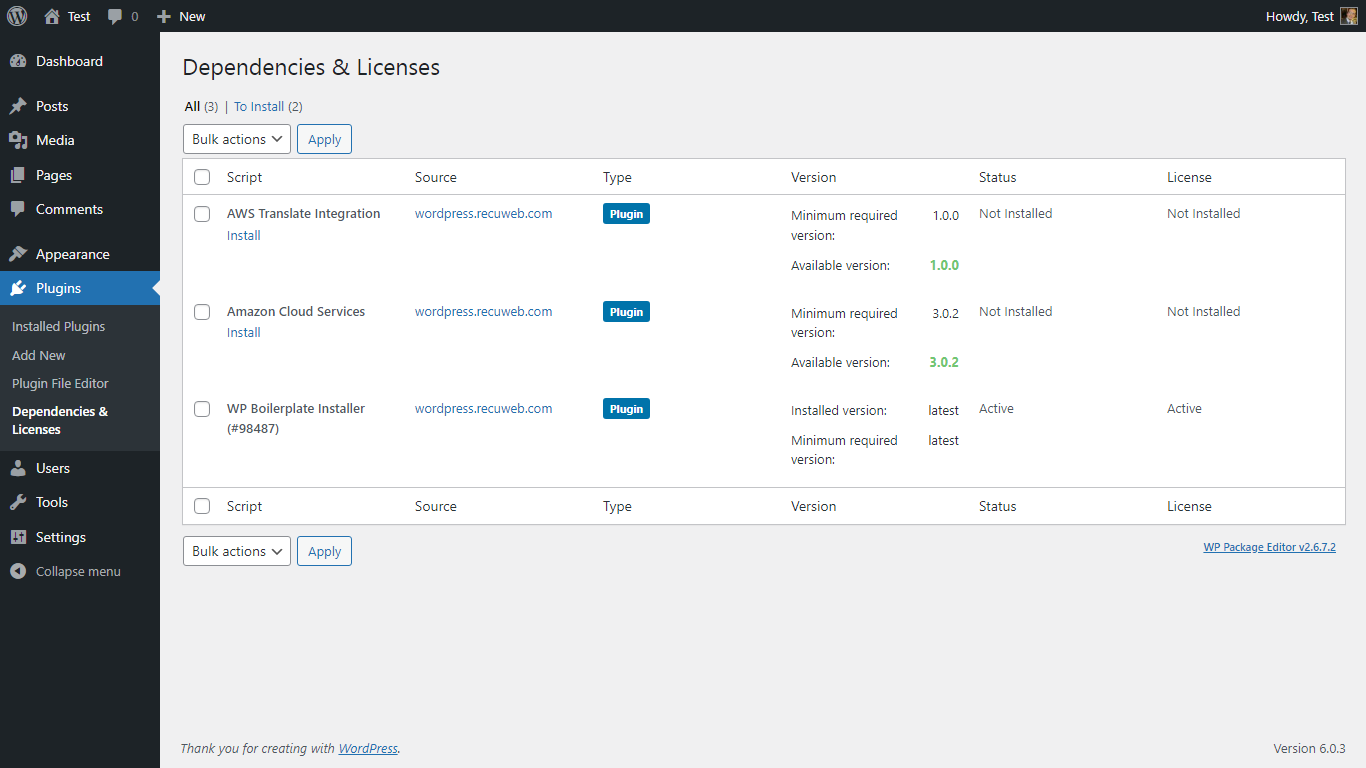
3 – Under the section “Plugins” of the admin dashboard you should see a new “Dependencies & Licenses” link. Follow the instructions from this panel to finalize the installation of the missing dependencies.
-
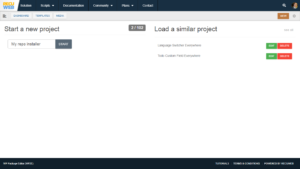
- Give a name to your project

-

- Download the Installer Package

-

- Install & activate the plugin locally

-

- Install the suggested dependencies
Tips: Use the WP2E panel to add/suggest new dependencies to the local installation. Press F5 in the list of dependencies if the changes are not displayed right away.