

TRY THE PRO VERSION
You’ll find the new version of WP Bannerize here.
This new version can import the previous database. Anyway, you can use them in the same time for a easy test and upgrade.
WP Bannerize is an Amazing Banner Manager. With WP Bannerize you can manage all your advertising stuff through widgets, shortcodes or directly from your template.
In your template insert: <?php if(function_exists( 'wp_bannerize' )) wp_bannerize(); ?>, use new shortcode featured or set it like Widget.
FEATURES
- Localized for Italian, English, Spanish, Portuguese, Belorussian, Dutch, Polish, German, Turkish and Russian
- Manage image, Adobe Flash movie, HTML/Javascript and free text
- Create your list (group/key) Banners image/Adobe Flash movie/URL/Free HTML
- Drag & Drop order
- Quick switch button to enable/disable banner
- Show your banners list by PHP code, WordPress shortcode or Widget
- Customize output by ‘Settings’ in admin area
- Customize CSS Rules for frontend layout
- Tools panel with Function and Shortcode Editor
- Set random, limit and catories filters
- Standard WordPress interface improvement
- “nofollow” attribute support
- Click Counter engine for stats
- Impressions and Max Impressions
- CTR (Click-through rate)
- Date Time schedule
- WordPress Admin Contextual HELP
WHAT’S NEWS IN 3.0 RELEASE
- Added insert banner by URL
- Added insert banner by Free HTML
- Added insert banner from Media Gallery
- Added quick switch button to enable/disable banner
- Added Server Date/Time information
- Added click count on Flash Movie
- Added
no_html_wraparguments for avoid WP Bannerize HTML - Added frontend stylesheet, predefined or custom
- Added ‘no banner to display’ HTML/message settings
- Added Tools menu with Function and Shortcode Editor, Database utility
- Improved HTML contextual Help
- Improved Code and HTML layout
- Improved HTML output
- Fixed shortcode
- Fixed several minor bugs
- Updated Fancybox Javascript Library
- Deprecated shortcode name “wp-bannerize”
- Deprecated HTML output – see documentation for detail
HOW TO
Check the new “Function and Shortcode Editor” in Tools section.
When you insert a banner you can assign it to a group (or key). In this way, for example, if your theme layout is a 3 columns, you can insert in left sidebar:
<?php if(function_exists( 'wp_bannerize' ))
          wp_bannerize('group=left_sidebar'); ?>
in right sidebar:
<?php if(function_exists( 'wp_bannerize' ))
          wp_bannerize('group=right_sidebar'); ?>
In addition WP Bannerize provides a filter by category, for example:
<?php if(function_exists( 'wp_bannerize' ))
          wp_bannerize('group=right_sidebar&categories=13,14'); ?>
The code above shows banners only for the categories 13 or 14, for the “right_sidebar” group key.
or in your post:
[wp_bannerize group="adv" random="1" limit="3"]
The default HTML output for above code is:
<div class="wp_bannerize adv">
  <div>
    <a href=".."><img src="..." /></a>
  </div>
  <div>
    <a href=".."><img src="..." /></a>
    <div class="description">[description]</div>
  </div>
  ...
</div>
params:
* group               If '' show all groups, else show the selected group code (default '')
* no_html_wrap        Display only link and image tag, No WP Bannerize wrap HTML (default '')
* random              Show random banner sequence (default '')
* categories          Category ID separated by commas. (default '')
* limit               Limit rows number (default '' - show all rows)
* before              HTML Tag before banner (default '<div>')
* after               HTML Tag after banner (default '</div>')
Who’s using WP Bannerize?
Related Links
Thanks
A special thanks to all contributors:
Bugs report and beta testing
- Ivan
- rotunda
- marsev
- benstewart
- FTLSlacker
- kwoodall
- Viktor Zozulyak
- Andrey Tv
- Gary Williams
- SchattenMann
- jasonpel
- moikano
- preukson
- esu66
Suggestions and ideas
- Wasim Asif
- Tihomir Lichev
- bsdezign
- Slight
- aplussideas
Tutorial
Localization
- Fernando Lopes (Portuguese localization)
- Marcis G. (Belorussian localization)
- David Pérez (Spanish localization)
- Rene (Dutch localization)
- Krzysztof Bociurko (Polish localization)
- Lara Van der Wiel (German localization)
- kazanc (Turkish localization)
-
Mick Levin (Russian localization)
… and sorry for everyone that I forgot … please, send me an email for your credits
Download & install the zip archive
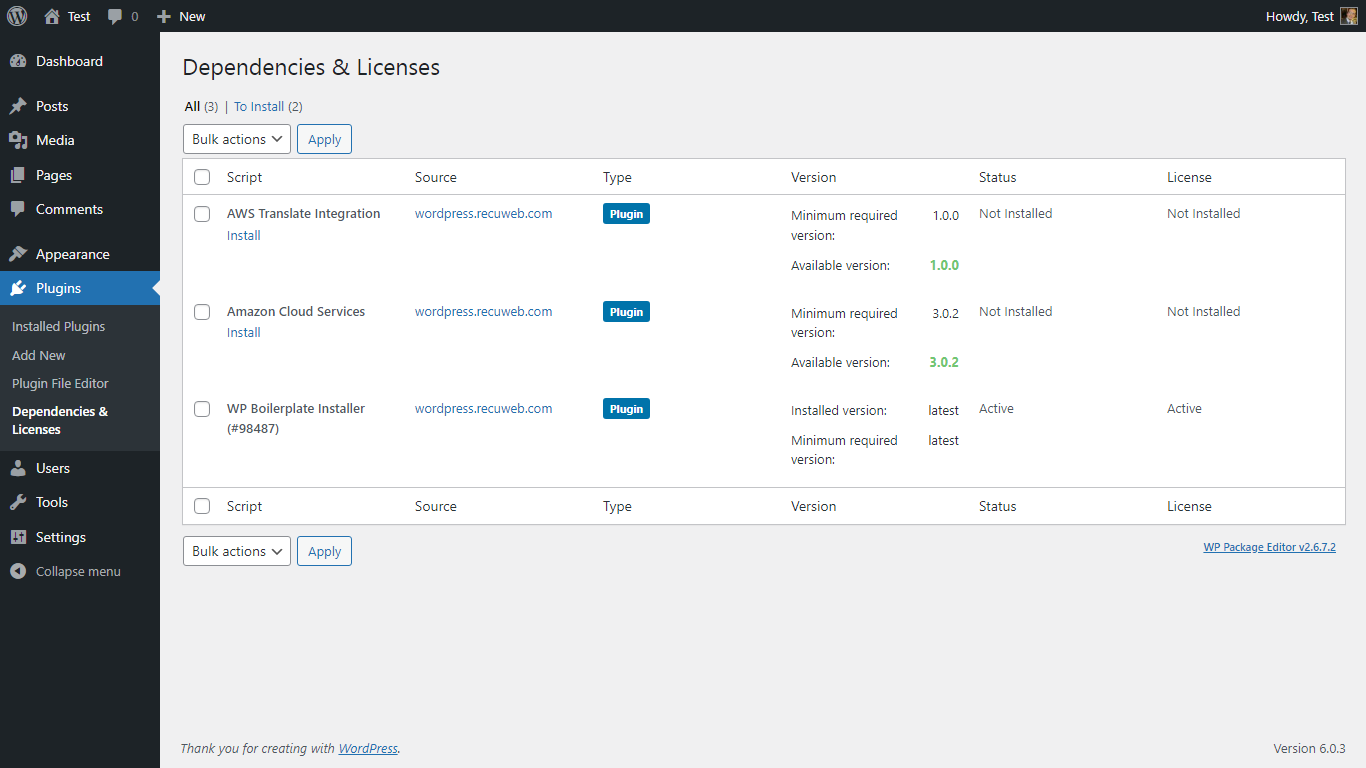
The plugin package installer can be downloaded from the WP2E project tab called “code”.
1 – Select the version to download if this option is available otherwise the “latest” version of the main plugin will be used.
2 – After downloading the zip archive install the plugin package installer in you local environment and activate the script from the plugin list.
3 – Under the section “Plugins” of the admin dashboard you should see a new “Dependencies & Licenses” link. Follow the instructions from this panel to finalize the installation of the missing dependencies.
-
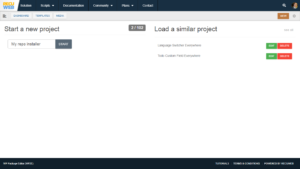
- Give a name to your project

-

- Download the Installer Package

-

- Install & activate the plugin locally

-

- Install the suggested dependencies
Tips: Use the WP2E panel to add/suggest new dependencies to the local installation. Press F5 in the list of dependencies if the changes are not displayed right away.