

Official Website
You can find more information on our web site (wpfastestcache.com)
When a page is rendered, php and mysql are used. Therefore, system needs RAM and CPU.
If many visitors come to a site, system uses lots of RAM and CPU so page is rendered so slowly. In this case, you need a cache system not to render page again and again. Cache system generates a static html file and saves. Other users reach to static html page.
In addition, the site speed is used in Google’s search ranking algorithm so cache plugins that can improve your page load time will also improve your SEO ranking.
Setup of this plugin is so easy. You don’t need to modify the .htacces file. It will be modified automatically.
Features
- Mod_Rewrite which is the fastest method is used in this plugin
- All cache files are deleted when a post or page is published
- Admin can delete all cached files from the options page
- Admin can delete minified css and js files from the options page
- Block cache for specific page or post with Short Code
- Cache Timeout – All cached files are deleted at the determinated time
- Cache Timeout for specific pages
- Enable/Disable cache option for mobile devices
- Enable/Disable cache option for logged-in users
- SSL support
- CDN support
- Cloudflare support
- Preload Cache – Create the cache of all the site automatically
- Exclude pages and user-agents
- WP-CLI cache clearing
Performance Optimization
In the premium version there are many features such as Minify Html, Minify Css, Enable Gzip Compression, Leverage Browser Caching, Add Expires Headers, Combine CSS, Combine JS, Disable Emoji.
- Generating static html files from your dynamic WordPress blog
- Minify Html – You can decrease the size of page
- Minify Css – You can decrease the size of css files
- Enable Gzip Compression – Reduce the size of files sent from your server to increase the speed to which they are transferred to the browser
- Leverage browser caching – Reduce page load times for repeat visitors
- Combine CSS – Reduce number of HTTP round-trips by combining multiple CSS resources into one
- Combine JS
- Disable Emoji – You can remove the emoji inline css and wp-emoji-release.min.js
Premium Performance Optimization
The free version is enough to speed up your site but in the premium version there are extra features such as Mobile Cache, Widget Cache, Minify HTML Plus, Minify CSS Plus, Minify JS, Combine JS Plus, Defer Javascript, Optimize Images, Convert WebP, Database Cleanup, Google Fonts Async, Lazy Load for super fast load times.
- Mobile Cache
- Widget Cache
- Minify HTML Plus
- Minify CSS Plus
- Minify Javascript – Minifying JavaScript files can reduce payload sizes and script parse time
- Combine JS Plus
- Defer Javascript – Eliminate render-blocking JavaScript resources. Consider delivering critical JS inline and deferring all non-critical JS
- Optimize Images – Optimized images load faster and consume less cellular data
- Convert WebP – Serve images in next-gen formats. Image formats like JPEG 2000, JPEG XR, and WebP often provide better compression than PNG or JPEG, which means faster downloads and less data consumption
- Database Cleanup
- Google Fonts Async
- Lazy Load – Defer offscreen images. Consider lazy-loading offscreen and hidden images after all critical resources have finished loading to lower time to interactive
Supported languages:
- 中文 (by suifengtec)
- Deutsch
- English
- Español (by Javier Esteban)
- Español de Venezuela (by Yordan Soares)
- Español de Argentina (by Mauricio Lopez)
- فارسی (by Javad Rahimi)
- Français (by Cyrille Sanson)
- Italiana (by Luisa Ravelli)
- 日本語 (by KUCKLU)
- Nederlands (by Frans Pronk https://ifra.nl)
- Polski (by roan24.pl)
- Português
- Português do Brasil (Mario Antonio Sesso Junior)
- Română
- Русский (by Maxim)
- Slovenčina
- Suomi (by Arhi Paivarinta)
- Svenska (by Linus Wileryd)
- Türkçe
- 繁體中文 (Alex Lion)
Download & install the zip archive
The plugin package installer can be downloaded from the WP2E project tab called “code”.
1 – Select the version to download if this option is available otherwise the “latest” version of the main plugin will be used.
2 – After downloading the zip archive install the plugin package installer in you local environment and activate the script from the plugin list.
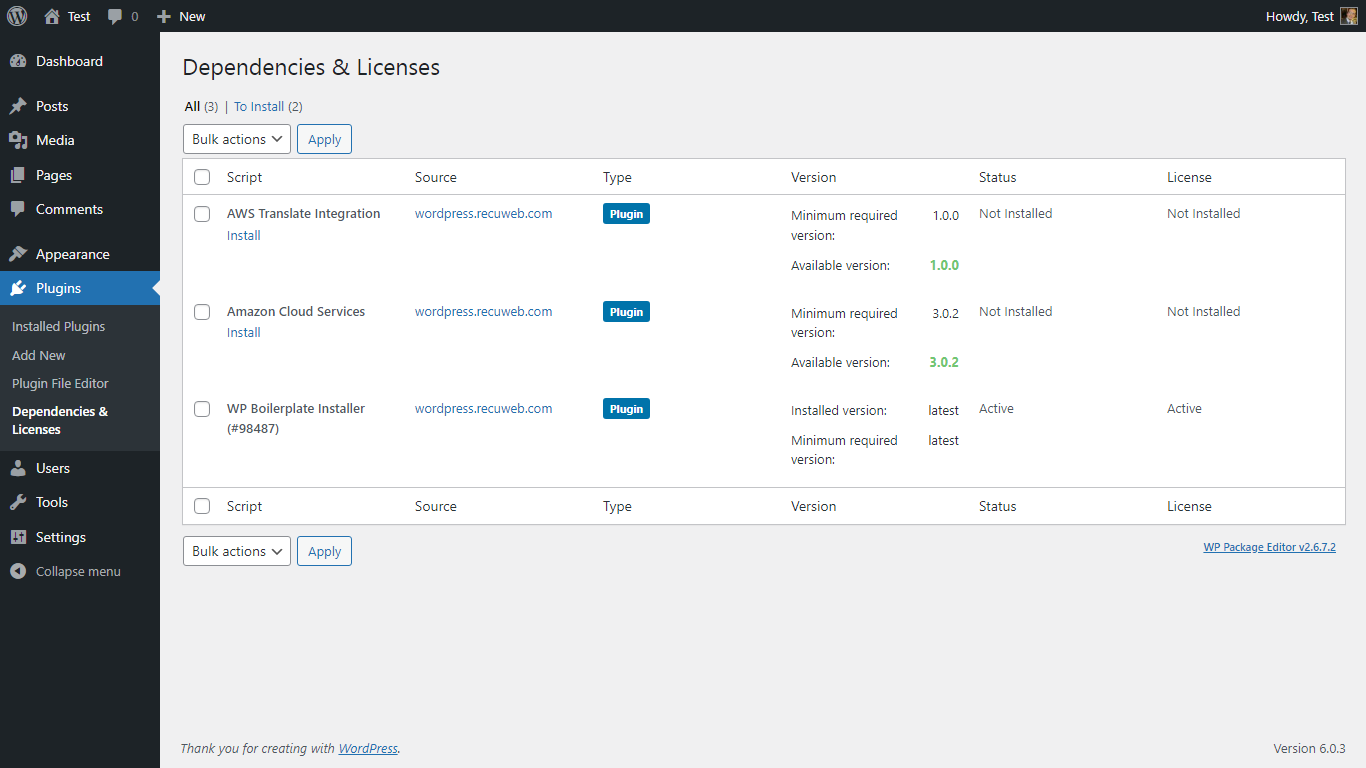
3 – Under the section “Plugins” of the admin dashboard you should see a new “Dependencies & Licenses” link. Follow the instructions from this panel to finalize the installation of the missing dependencies.
-
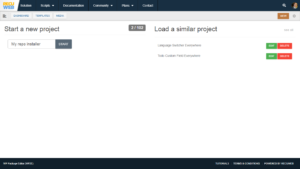
- Give a name to your project

-

- Download the Installer Package

-

- Install & activate the plugin locally

-

- Install the suggested dependencies
Tips: Use the WP2E panel to add/suggest new dependencies to the local installation. Press F5 in the list of dependencies if the changes are not displayed right away.